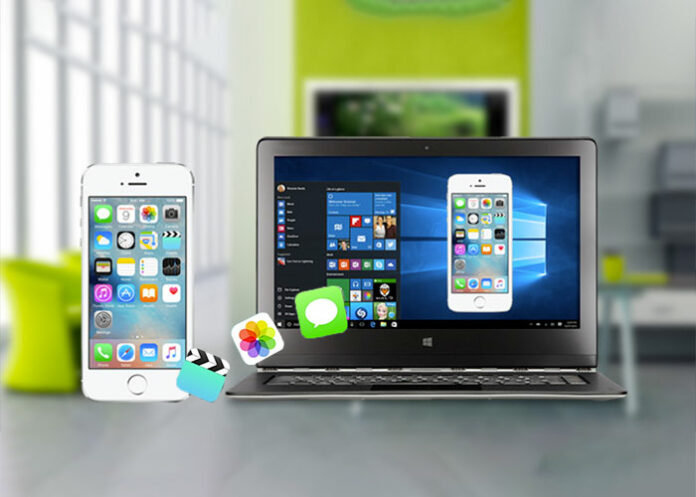
Here are some of the ways to transfer files from pc to iPhone
1. iCloud Drive allows you to transfer files from your computer to your iPhone
You probably have an idea about iCloud, the cloud service that is open for use by almost every Apple customer. Now, talking about the storage drive of this service is called iCloud Drive.
Having the accessibility of cloud storage, people can save their files and most importantly retrieve them later. This function is available in almost all devices including Mac, Windows Pc, Android, and iOS and it is very useful when it comes to storing video, pictures, documents and other kinds of data. Here are some of the things that you will be able to do with Drive of iCloud:
- Download and install iCloud in Windows.
- Then log in to your Apple ID.
- Check the iCloud features.
- Open File Explorer then open the iCloud Drive folder on the left. Transfer the files you want to transfer to the folder.
To check the data is transferred to your iPhone:
- In your iPhone find Settings > your name > iCloud > open iCloud Drive.
- Open the Files app and then click Browse > iCloud Drive. Now you’ll be able to see the files you transferred from your iPhone.
You can now keep files from your PC on the iCloud Drive once you’ve accessed it. You can, on the other hand, transfer such files to your iPhone without using iTunes. As a result, it is an excellent approach to assist you in doing so. The only drawback is that you’ll need access to the internet for this. If you don’t want it, there is an alternative that does not involve the use of the Internet.
Also Read – Control PC with Phone Anywhere in the World
2. Use iTunes to transfer files from your computer to your iPhone
Apple also developed iTunes, which is another built-in function. It differs from iCloud in that it was not designed as a cloud storage capability. It is primarily a multimedia player with file management capabilities that allow it to transfer files.

While iTunes has several features to help with file management, we’ll be using the File Sharing tool to move files from PC to iPhone. To use this functionality, just follow the pattern listed below:
If you’re using a Mac, check sure it’s up to date and if you’re using Windows, make sure it’s Windows 10 or later.
- Update your iPhone to the latest iOS version available.
- Install a program that supports the File Sharing functionality.
- Obtain a USB cable.
As you can see, the most important thing is to make sure that all of your gadgets are up to current. This is because the file-sharing feature is a relatively new addition to this toolkit. Furthermore, you must have an appropriate app, which you may check when transferring your files using iTunes:
- To install iTunes make sure you are using the latest version of it in your PC
- Connect the iOS device and launch iTunes.
- Click the device icon and then click “File Sharing”.
- Then, select the files you want to share and then tap “Add” for file sharing.
- Open your iPhone and check.
Also Read – Top Data Recovery Tools for Free
3. Transferring Files from a Computer to an iPhone Using the Windows File Explorer
You might believe that transferring files without iTunes necessitates the usage of a specific tool. In actuality, File Explorer can accomplish this for you.

File Explorer is a file transfer and management application for Windows PCs. It makes it simple to retrieve your files and explore your PC’s storage. To be honest, it’s the simplest option.
There are, however, many prerequisites that must be completed before you may use this strategy. Here are some of the requirements:
A USB cable for iPhones running Windows 7 or later.
- Using a USB cord, connect your iPhone to your Windows PC.
- Start a File Explorer session on Windows once you’ve connected.
- Now, depending on your Windows version, go to My Computer or This PC, albeit it should be one of these two.
- Go to the drive that reflects your linked iPhone from this point.
- Go to Internal Storage after you’ve entered the drive.
- Locate the files you want to transfer next. Select them and make them transfer to your computer. It can go wherever you want as long as it’s on your Windows PC and not on your iPhone.
It might take some time, but it should be feasible in the shortest amount of time. This time, it’s limited to specific Windows versions.
Also Read – How to Block 18+ Content on Android Phone
4. Use Nearby Sharing to transfer files from your PC to your iPhone
Earbyy Sharing will be used in our last entry to transfer files from a PC to an iPhone without using iTunes. That’s how a lot of individuals send and receive files from people.

You can think of it as a less powerful version of Apple’s cloud service because it can only be utilized by people who are close to the source, whereas iCloud can be used by those who are miles away. In any case, here’s a list of things to accomplish first:
- You must have a Windows 10 computer with Nearby Sharing enabled.
- You should update your iPhone to the most recent version.
- Make sure the device you’ll be transmitting the file to is close by.
After you’ve completed these steps, you’re ready to use Nearby Sharing to transfer files from your PC to your iPhone. The following are the steps you must take:
- Go to Settings> System > Shared Experiences on your Windows PC. Enable the Nearby sharing option here.
- Check to see if your iPhone’s Bluetooth is turned on.
- Now you need to find the files you wish to transfer. Right-click on the file in question, then select Share. Select Nearby sharing from the drop-down menu.
- You’ll be given a list of devices that can be shared. Choose the one that is appropriate for your iPhone.
This will begin the process of sharing. You may receive prompts asking if you want to accept the file. Of course, you must first agree before the file transfer process can begin.
Also Read – Telegram Showing “Internal Error Occurred” – How to Fix?
5. Using Software to Transfer Files from a PC to an iPhone
A transfer application FoneDog is a third-party program for transferring files from your PC to your iPhone without using iTunes.

FoneDog Phone Transfer is a data transfer program that can transfer a wide range of files. It can move photographs, videos, audio and even minute bits of information like contacts. Furthermore, FoneDog Phone Transfer is compatible with the most recent version of the iPhone, up to iOS 14.
That’s all there is to know about this data transmission program. Now, utilizing FoneDog Phone Transfer, you may transfer files from your PC to your iPhone without using iTunes.
Step 1: Connect your iPhone to your computer in the first step.
To begin, start using the FoneDog Data Transfer application. Connect the PC with the files you want to transfer to the iPhone with the files you want to transfer. Accomplish this in any manner you like, but for a more reliable connection, we recommend you use a USB cable.
Step 2: Select a File Type
Once the two devices have been connected, it will give some information about the connected device from the FoneDog Phone Transfer window. These include a selection of file types at its left panel such as Photos, Music, Videos, Contacts and Messages. Simply choose one that you would like to transfer.
Step 3: Move Files from Your Computer to Your iPhone
You will get the long list of items in the right panel when you select a file type. You can choose them by checking the checkboxes next to the objects you want to transfer. When you have finished with the selections, go to the top of the selection window and hit the Export to PC or Other iPhone Devices button.
You only have to note to wait for the transfer to be completed after that, but it is not for those who either love using or hate using third-party utilities.
Conclusion
Well, you have found five different ways to transfer files from a PC to an iPhone, and of course, one is by using iTunes. All of the above serve the same purpose but in different ways and advantages or disadvantages. So, it is now your own option to choose what will best suit your needs.
This is the method you should use to keep backups of your files regardless of the method you choose because it can help you prevent some things like data loss.


